
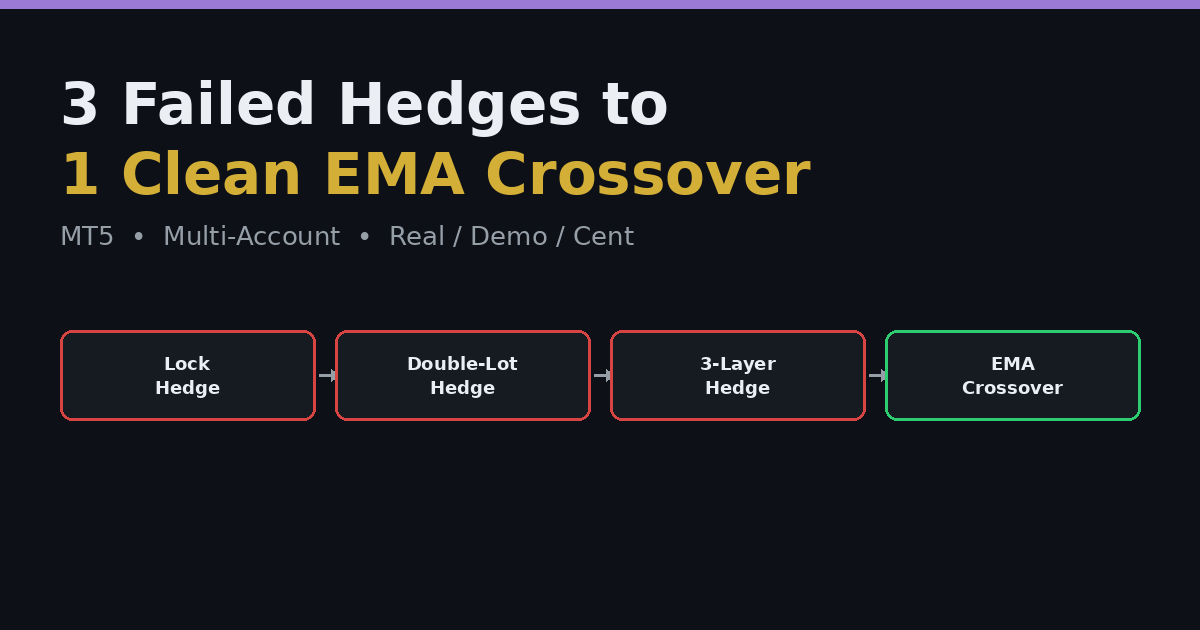
Hedging-based martingale EAs look appealing on paper: lock a losing trade instead of closing it, add a bigger opposite position, and let the basket eventually close in profit. In practice, building and testing three different hedging architectures on the same pair led to a simpler conclusion — a clean, trend-filtered EMA crossover with virtual TP/SL outperformed all of them in reliability. Here's the full evolution, and the multi-account setup running the final version today.
Attempt 1: Lock Hedging
The starting point was a same-pair lock-hedge EA: when a trade moved into loss, instead of closing it, the EA opened an equal opposite position on the same symbol to "lock" the current floating loss in place. The idea is that the net exposure freezes while the trader waits for a better exit opportunity on one side. In practice, this just delays the decision — the loss is frozen, not resolved, and eventually one side still has to close at a loss to unlock the position.
Attempt 2: Double-Lot Hedging
The next iteration tried to fix that by making the opposite (hedge) position double the lot size of the original. The logic: when price eventually reverses, the larger hedge position would be in profit by more than the original loss, so closing both nets a small gain. This worked in some backtests, but it reintroduces the same risk profile as a martingale system — a strong, extended trend against the hedge side compounds the exposure quickly rather than resolving it.
Attempt 3: Three-Layer Hedging
A third version stacked hedges — if the double-lot hedge itself moved into loss, a third layer would open to hedge that position too. This is the point where the complexity stopped paying for itself: three layers of interdependent positions made it far harder to reason about total exposure at any given moment, and the edge case handling (what happens if layer 2 and layer 3 both need to unwind at the same time) kept growing. Debugging effort was going up while confidence in the system's behavior was going down.
The Reset: A Simple EMA Crossover
After three hedging iterations, the approach was scrapped in favor of a much simpler system: an EMA 9/21 crossover, filtered by an EMA 50 trend direction, with a three-state signal machine that requires bar-close confirmation both before and after the cross (avoiding whipsaw signals from an in-progress candle). Take-profit and stop-loss are managed virtually rather than as broker-side orders, and the EA auto-detects account type and symbol suffix so the same code runs unmodified across different broker configurations.
This version runs simultaneously across Exness real, demo, and cent accounts, on XAUUSD, BTCUSD, and ETHUSD, across multiple PCs — something the three-layer hedge version was never stable enough to attempt.
Tightening Entries Further: Structure-Based Pullback Confirmation
Even a clean EMA crossover can fire on a weak or choppy signal. A stricter entry filter was added on top: a bullish entry now requires EMA7 above EMA21, both EMAs sloping upward, price trading above both EMAs, and a higher-high/higher-low market structure — followed by a pullback into the 7/21 EMA zone before the actual entry triggers. The bearish rule is the mirror image (lower-low/lower-high structure). This turns the EA from "trade every crossover" into "trade only crossovers that occur inside a structurally confirmed trend, and only on the pullback."
A Different Kind of Safety Net: Opposite-Trade Basket Closing
Rather than returning to hedging as the core strategy, the newest layer uses it only as a safety net: real-time monitoring watches every open trade, and if one moves into loss, the EA opens a single opposite trade specifically sized so that when both positions close together, the combined basket nets a small guaranteed profit — even if that profit is just a few cents. This is a narrower, more controlled use of the same underlying idea that failed as a primary strategy in Attempts 1 through 3: hedging works as an exit-guarantee mechanism, not as the main trade-generation logic.
Lesson for Anyone Building a Hedge-Based EA
Locking or hedging a losing trade doesn't remove risk — it relocates it. Each additional hedge layer added in these attempts increased the number of ways the system could behave unexpectedly under a strong trend, without actually reducing total exposure. The version that ended up working reliably across multiple live accounts wasn't the most complex one — it was the one that used a directional trend-filtered entry to avoid needing frequent hedges in the first place, and reserved hedging for a narrow, well-defined safety-net role instead of the entire strategy.


.png)
0 Comments